Testimonials
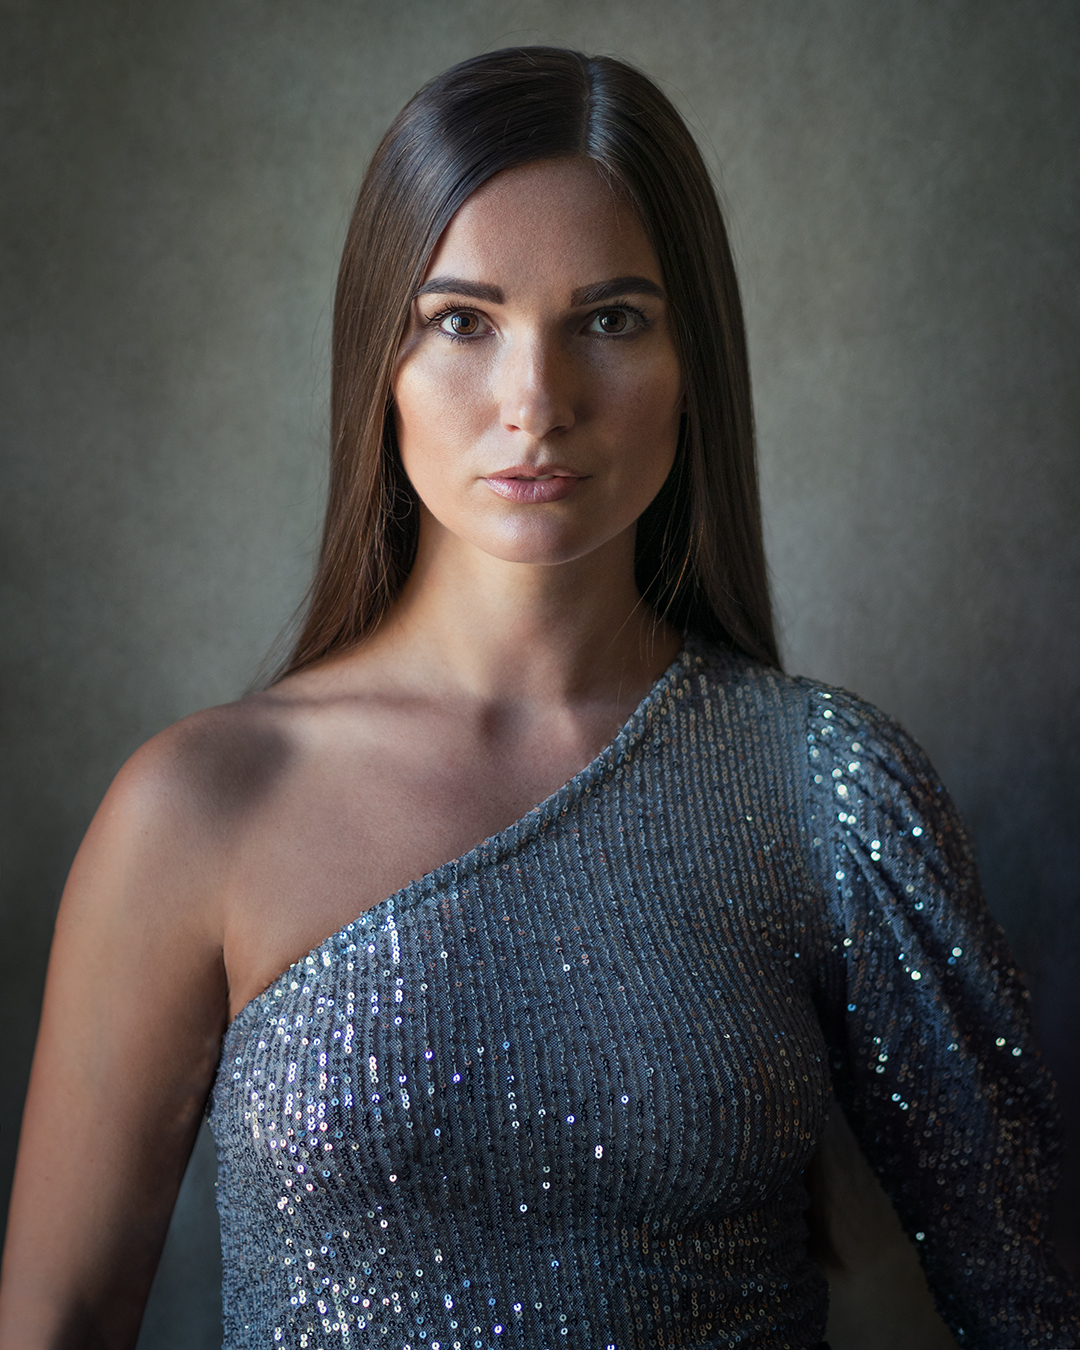
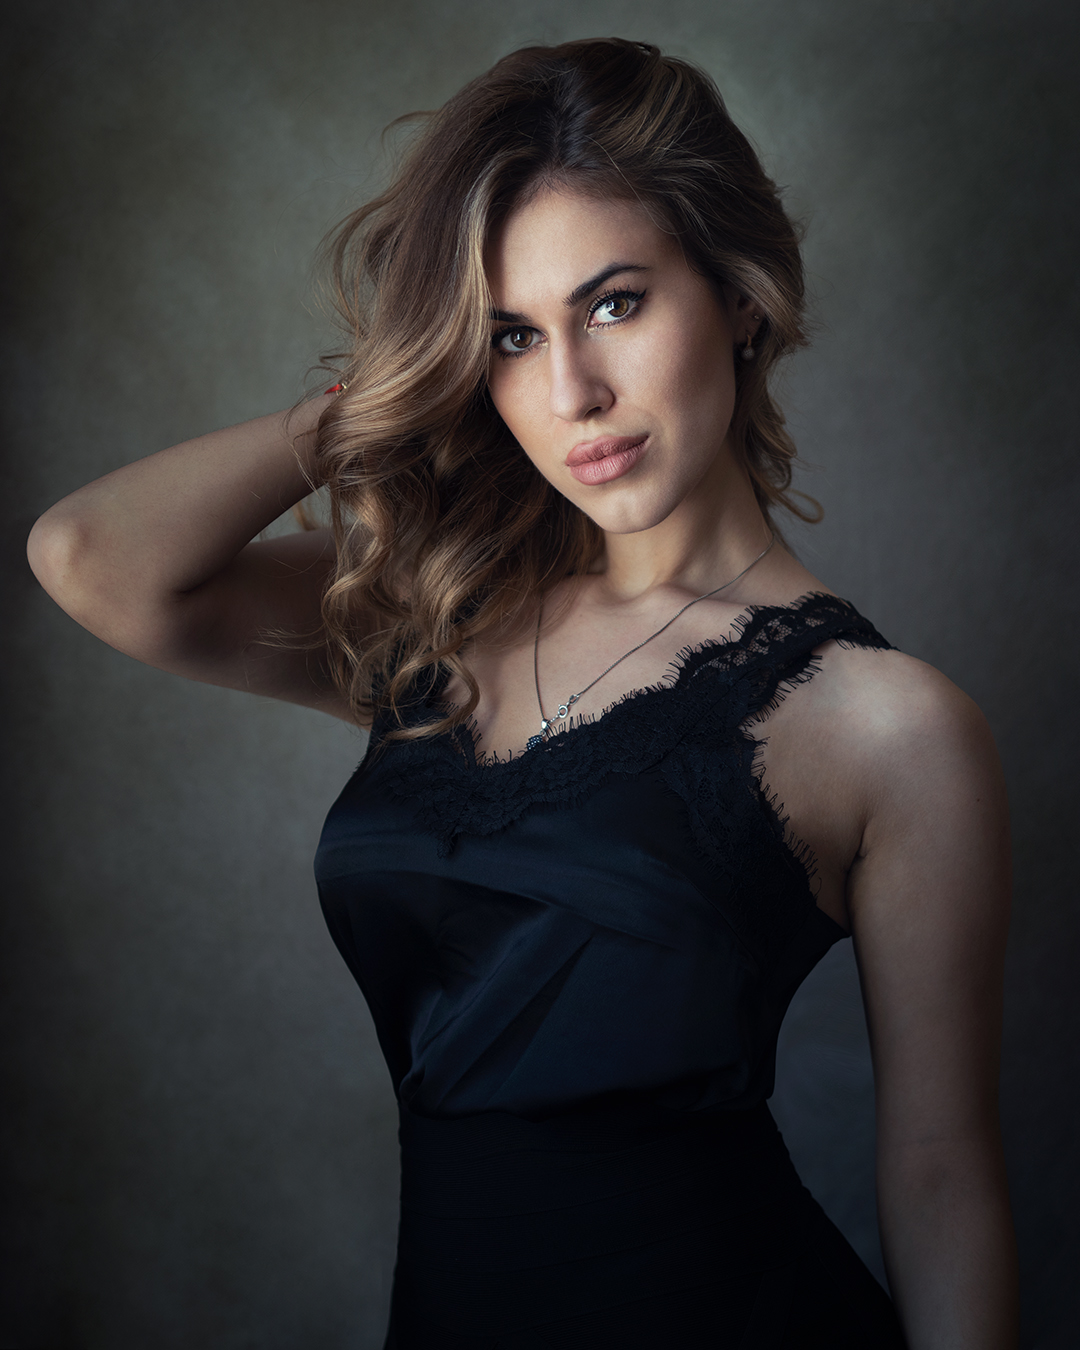
I made the best decision in booking my photoshoot with Martin. The photoshoot experience was friendly and took less than an hour for a few outfits. Martin gave me tips on what kind of outfits to choose and what to look out for in terms of the images that I’d like to portray beforehand. I love my photos. They are stunning and elegant yet natural and authentic. I am grateful to have found Martin and would not hesitate to recommend him to anyone.
@mrs_valeriia
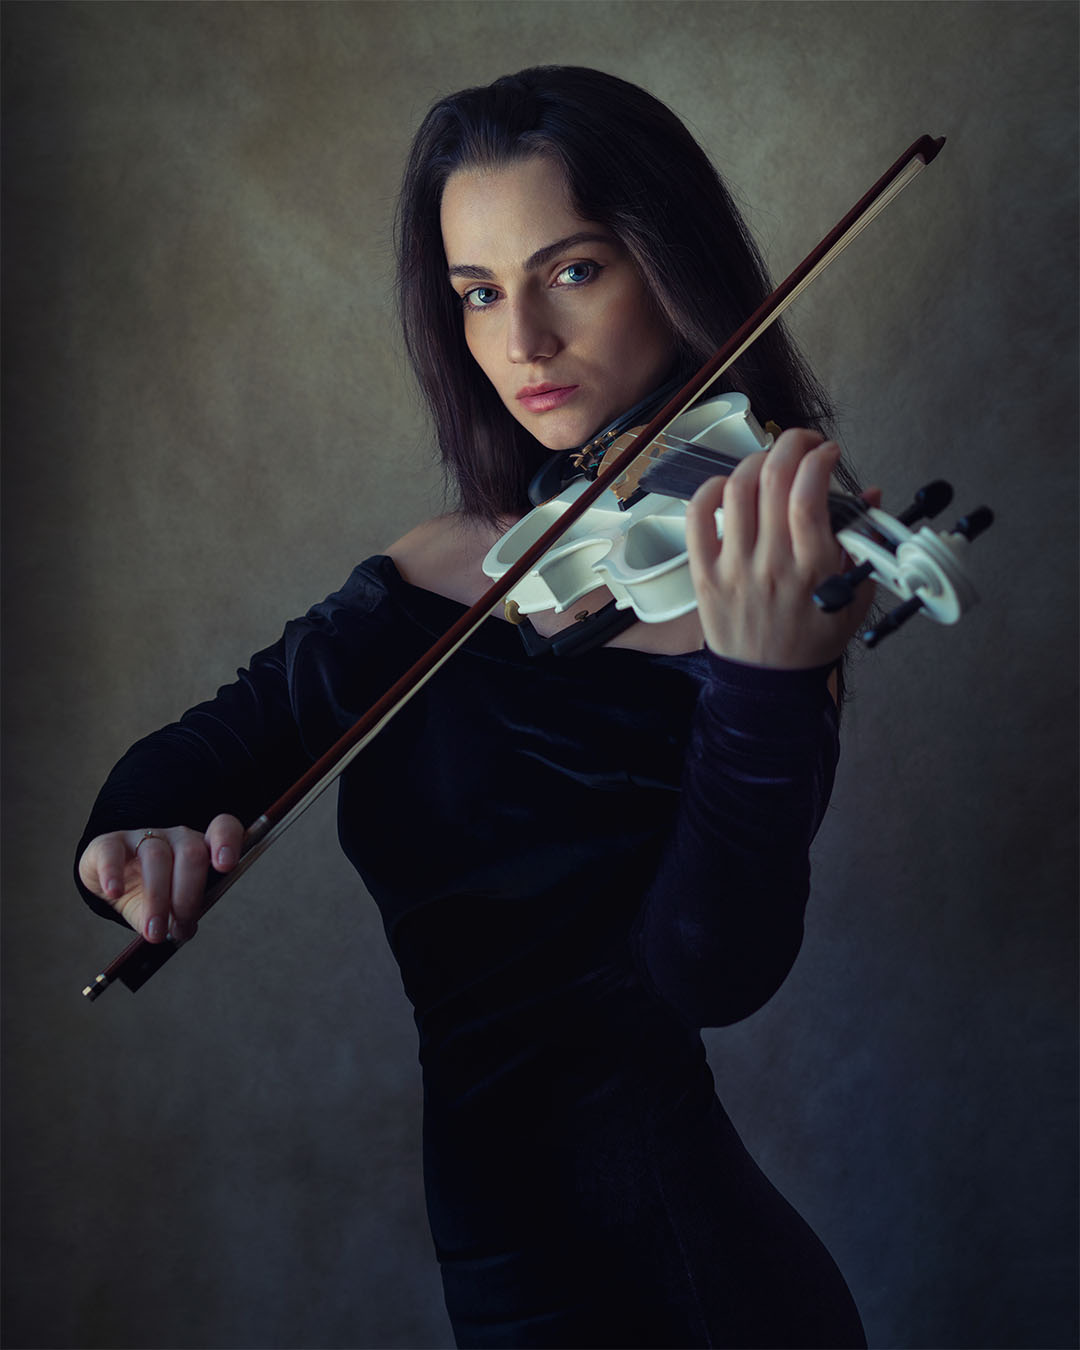
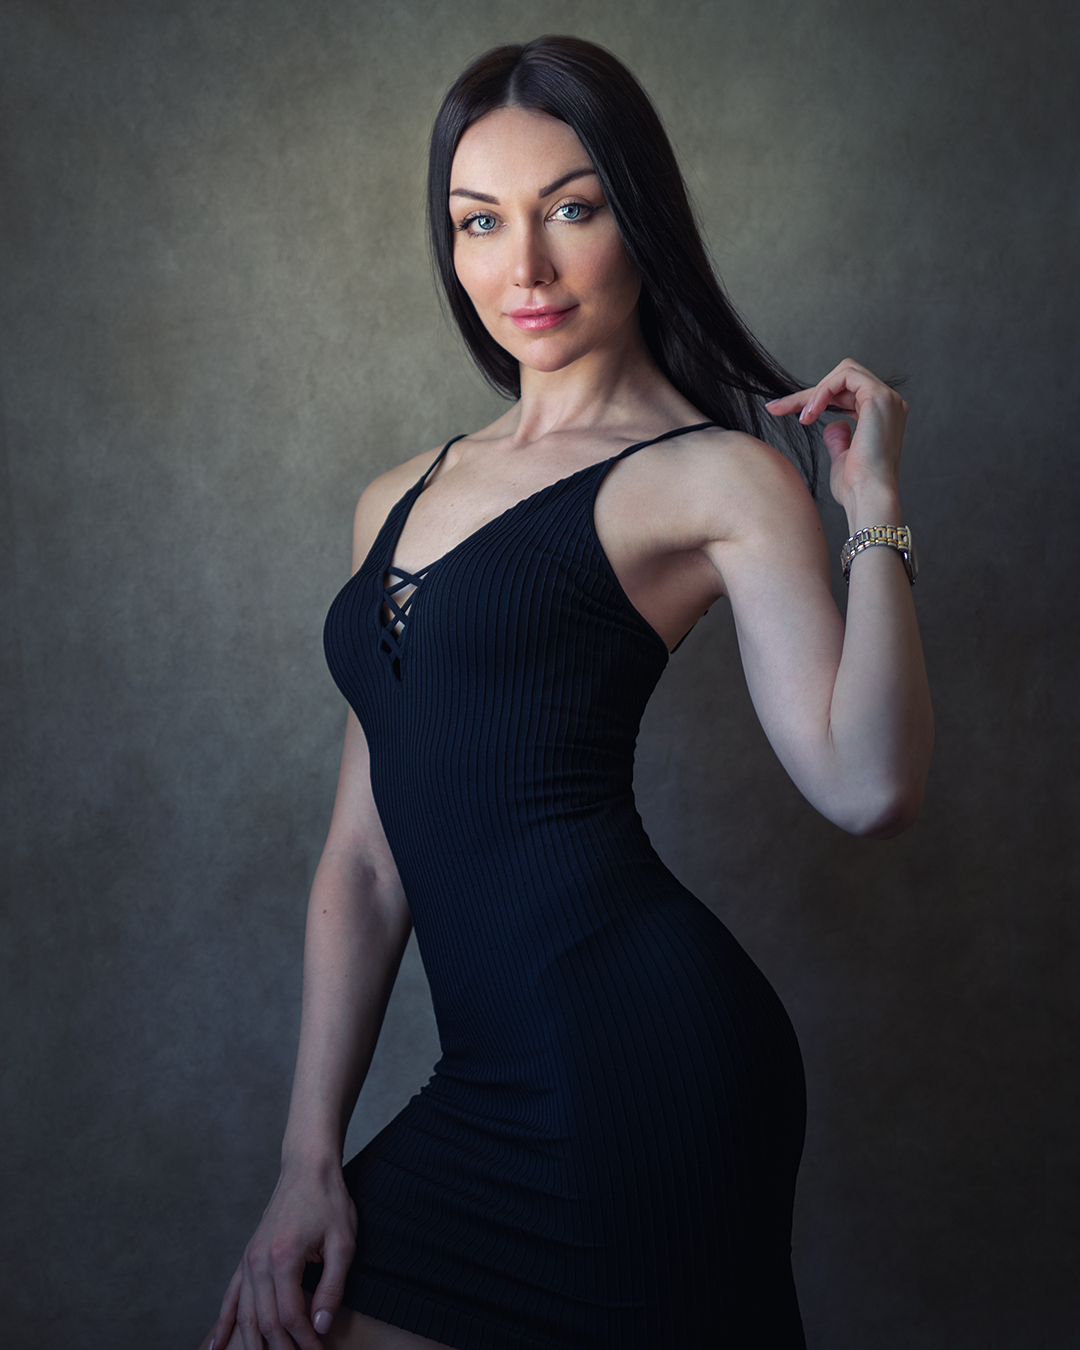
I really enjoyed my time working with Martin! He is an extremely professional photographer and patient with helping you get into the right poses. I highly recommend working with Martin if you want high-quality photos and an exceptional experience in your photo shoot! Thank you Martin! Looking forward to the next time that we get to shoot!
@iamtiabarr
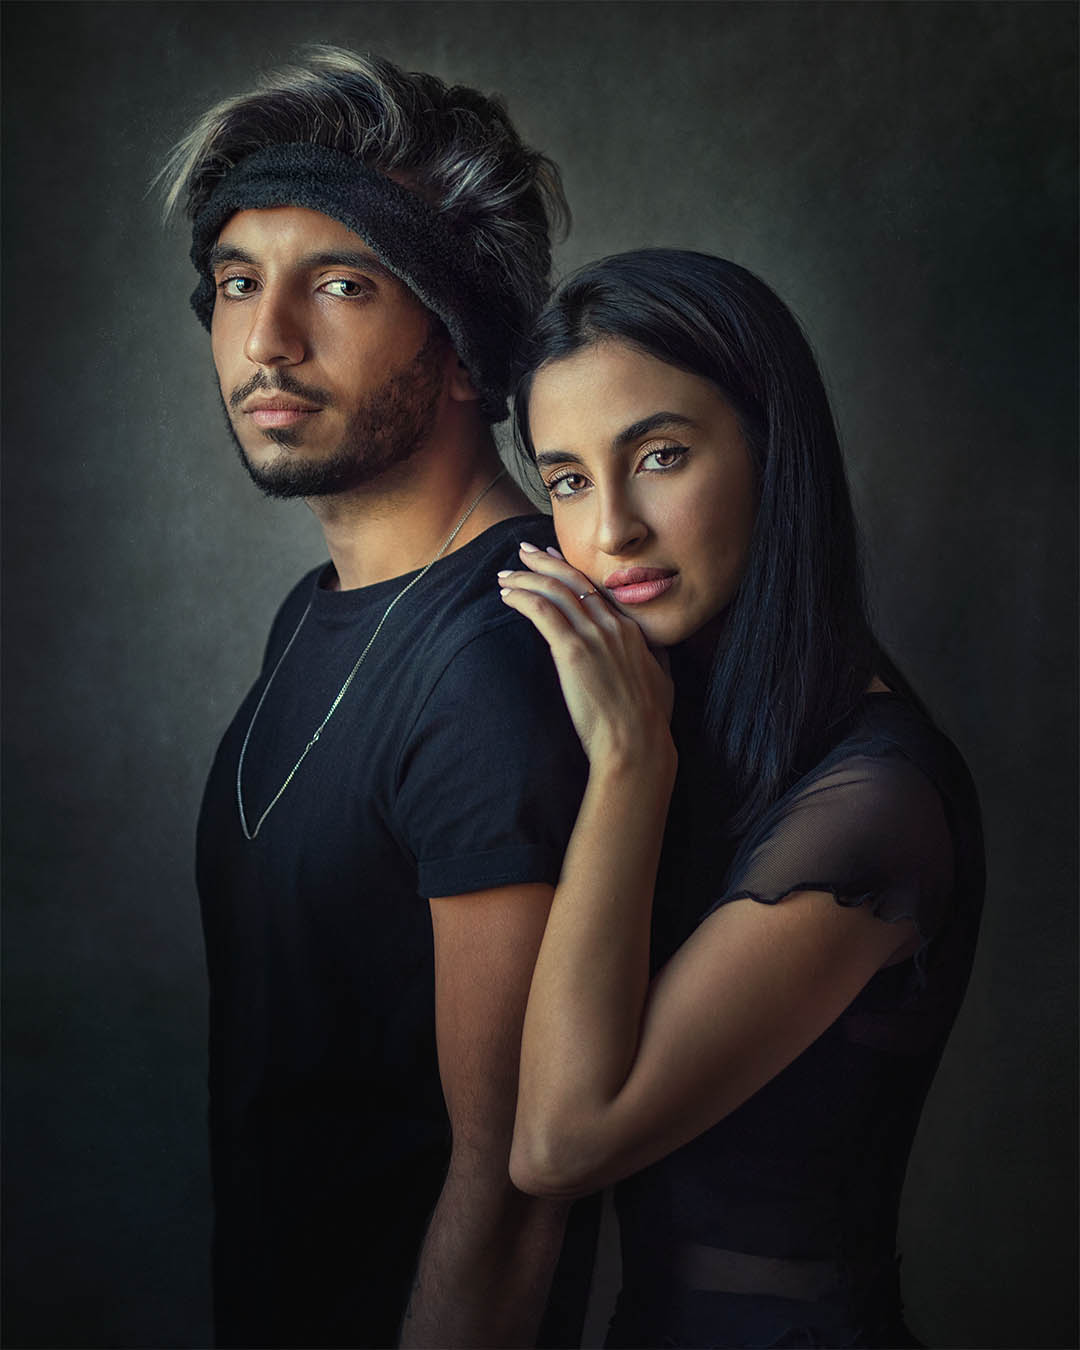
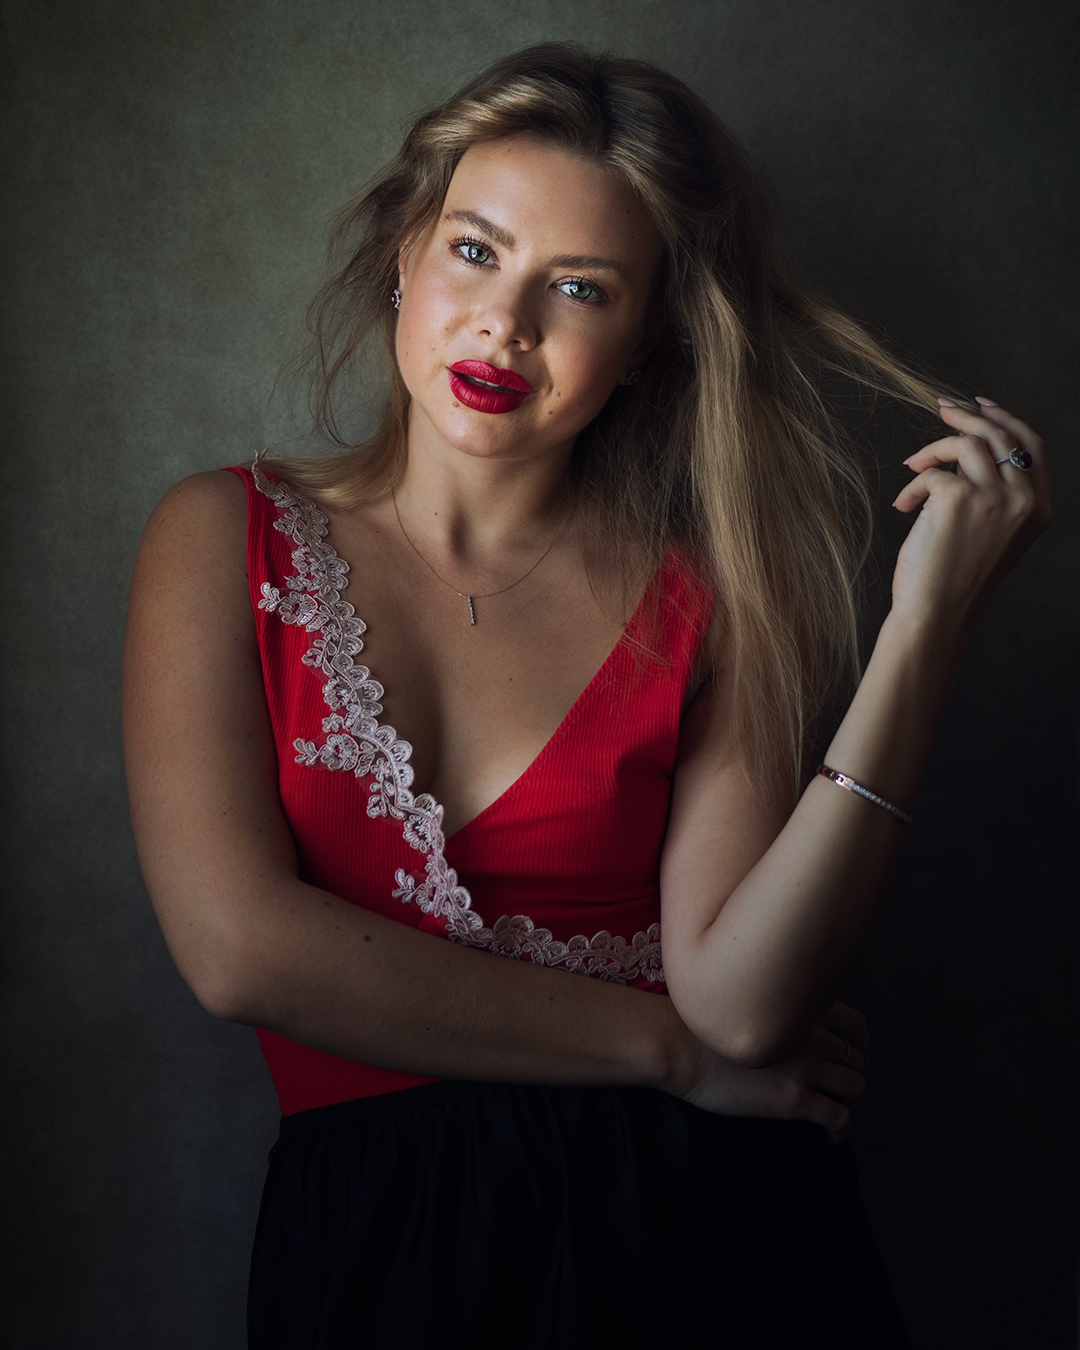
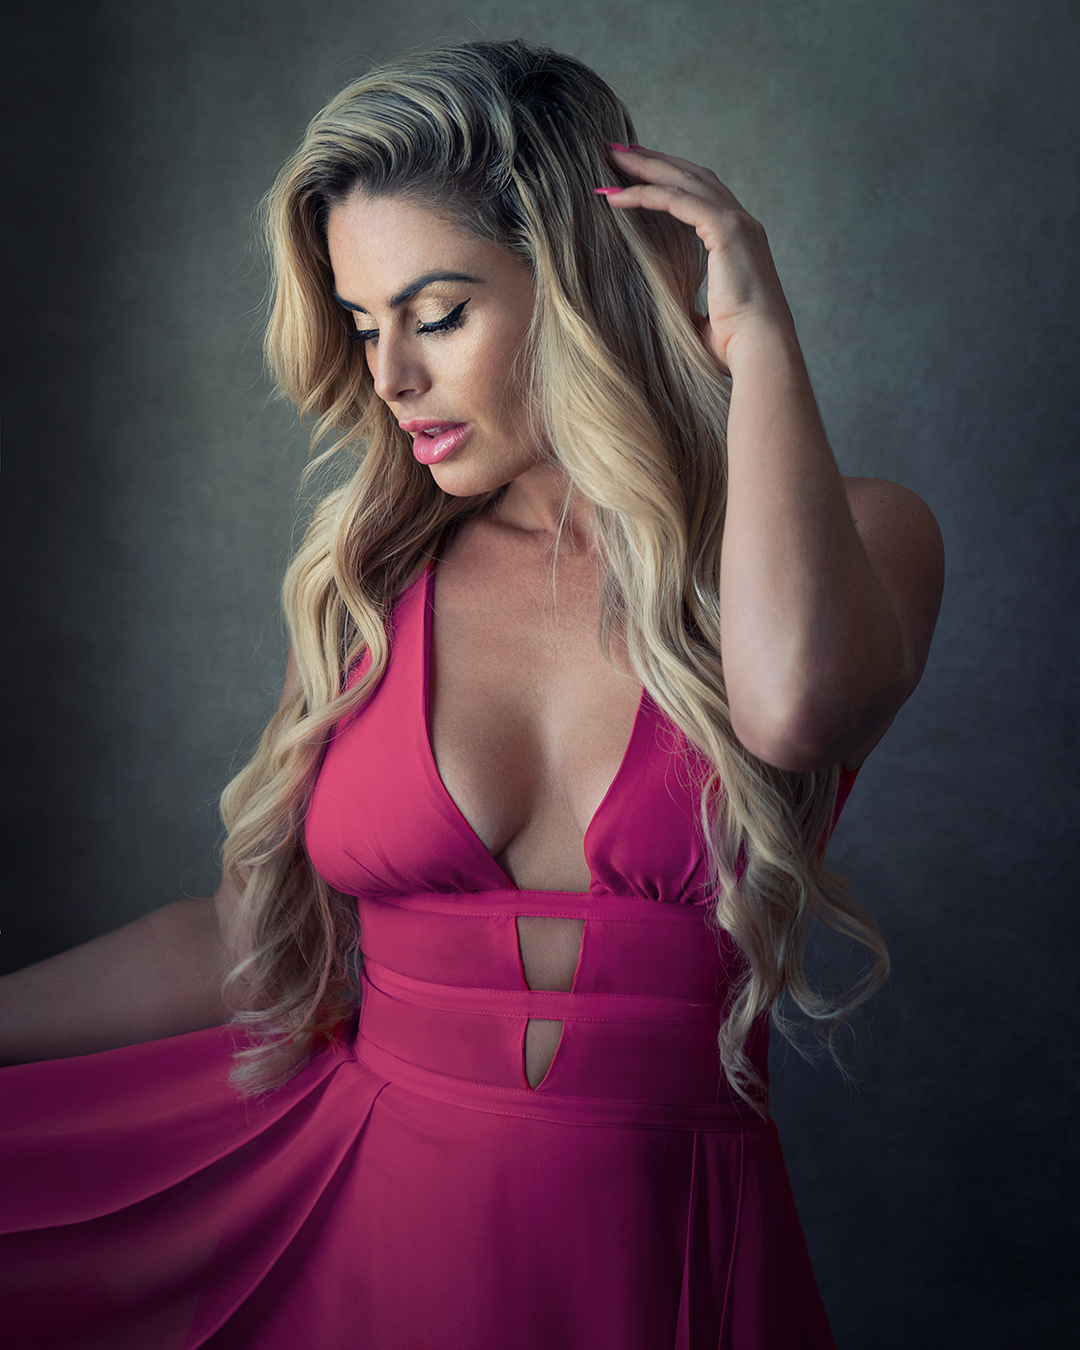
I really liked Martin’s style of editing photos and also how he brings to life the models’ personality. The painterly backdrop makes his photos unique and recognizable because it’s his brand aesthetic.
@thedianaomar
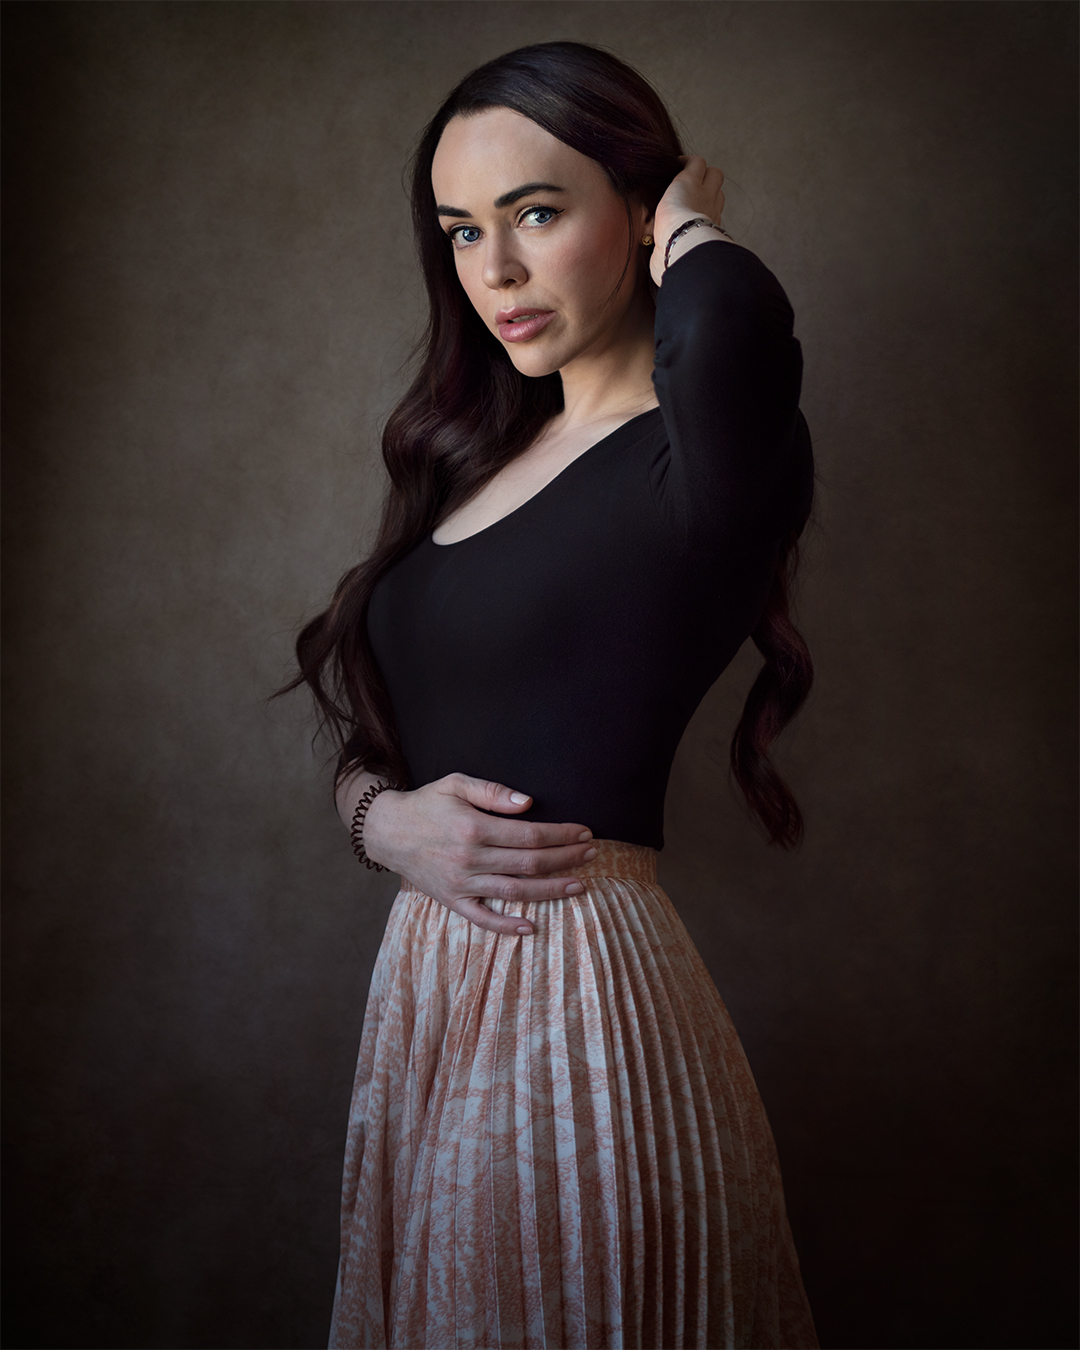
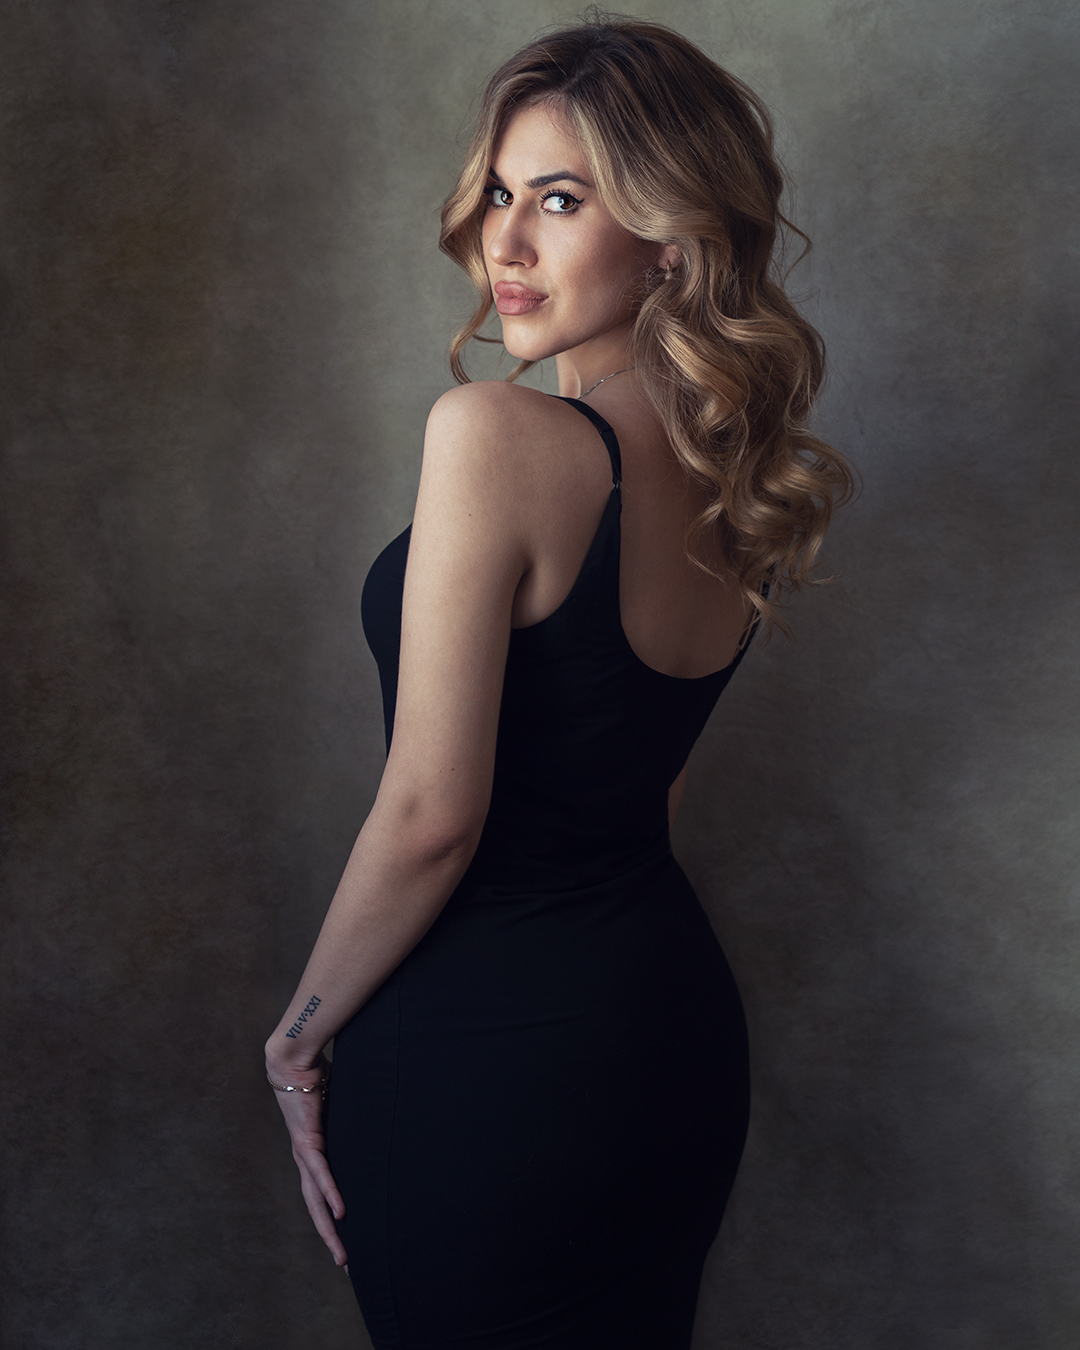
I was thrilled to see how Martin could capture my true essence. His photos show personality and make you want to look at them again and again. I think this would be the main reason I would recommend Martin to anyone. None of my other photos can reflect my personality the same way his portraits do.
@le1991ra
Get a free photo session consultation
Let's discuss your portrait photoshoot.


Stay up to date with promotions and discounts
In the news
